Making our traditional sweets brings more happiness. Tirunelveli halwa is my hubby's favorite. He always buys a pack of halwa whenever he visits tirunelveli. I wanted to try this halwa for this diwali, first i was little hesitant to try as it takes lots of ghee to make. Watching masterchef and all the cookery shows, i gathered my confidence and tried it.
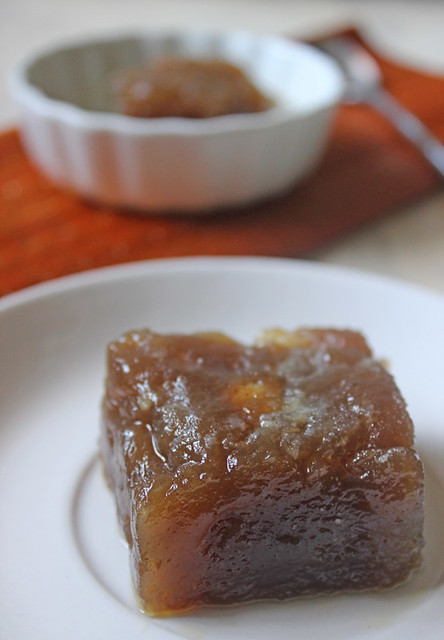
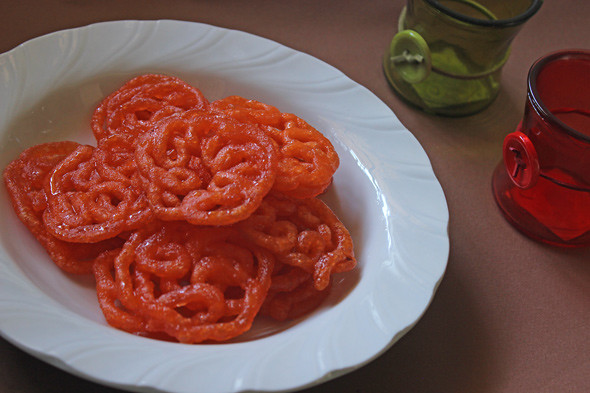
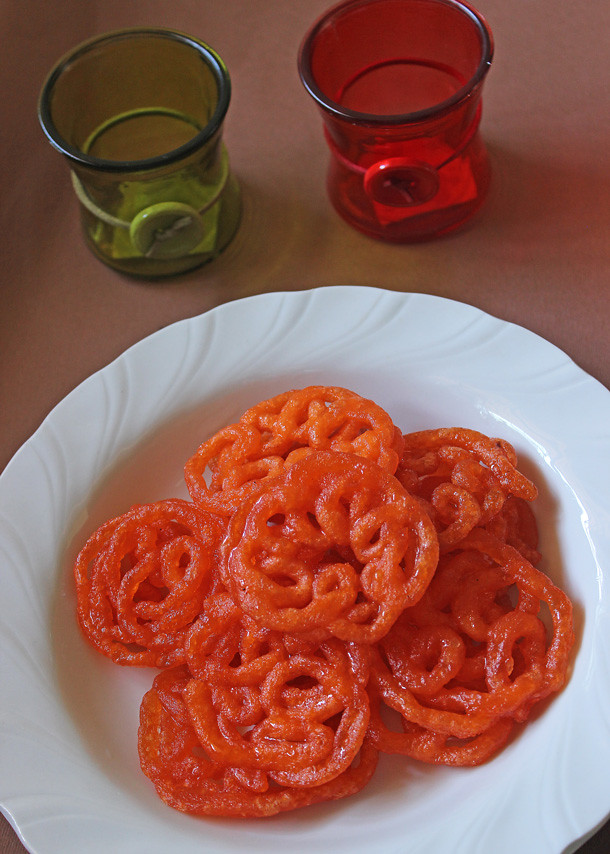
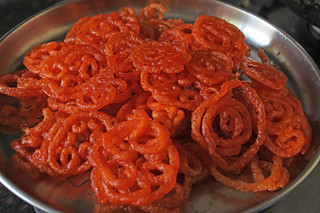
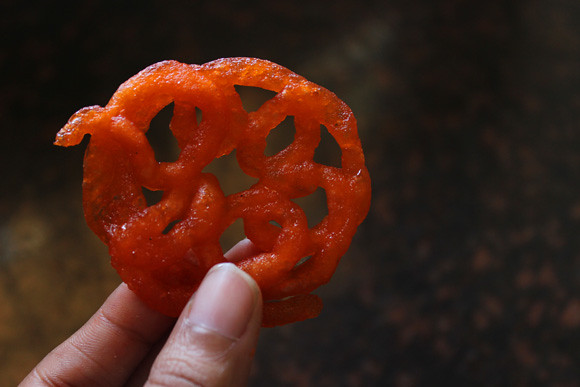
Tirunelveli halwa came out so well and everyone who ate loved it and asked me for the second servings. Feeling Great on trying this halwa! Though everyone liked this halwa more than my jangri, I completely loved my jangri!When Jayashree posted halwa recipe back in 2008, i kept a note of the recipe as it was so easy that we need not stir and just use our pressure cooker and microwave oven. I started making as per her recipe and when i added the wheat milk to the sugar and water in the cooker, it got thickened instantly, i feared about pressure cooking the mix and went ahead with the traditional painful stirring on stove top! But will try out the microwave version once for sure, as i liked the halwa taste.This Halwa recipe is not tricky, its very easy to make and beautifully turns out into delicious halwa with just one mandatory condition of stirring it for about 1 hour! Yes it almost takes 1 hour to stir,stir, stir, ghee, ghee, ghee, stir, stir, stir. thats it. The next day, halwa was beautifully set and i was happy to cut them into slices. It was silky and firm, a perfect halwa i would say!
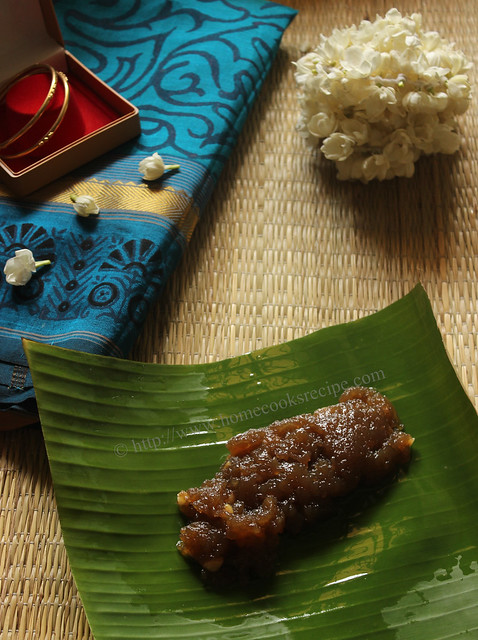
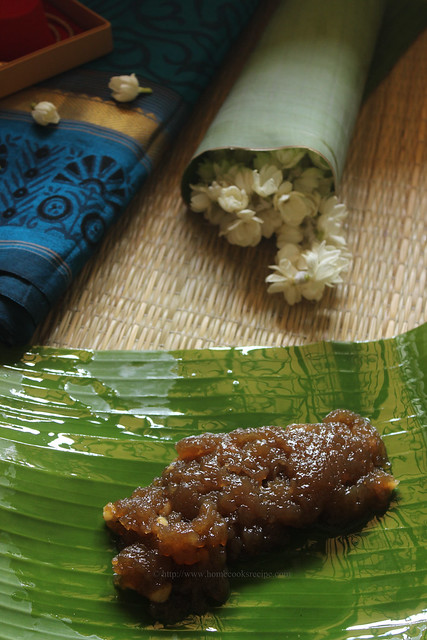
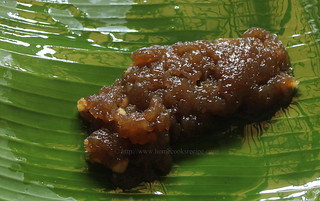
When i started clicking pictures, rain started and the weather went gloomy. i could not click pictures as i wanted. so here is my statement - Do not judge this halwa with its appearance, it was so Yummy!! I just took a picture of this halwa with jasmine, as the idea struck, so here it is...Ingredients:Cracked Wheat / Samba Godhumai Rava - 1 cup / 250 gms.
Brown Sugar - 3 cups
Ghee - 3/4 cup / 200 ml.
Water - 4 cup
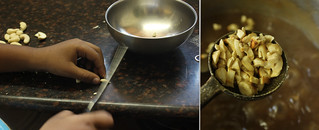
Cashews - 10
[1 cup cracked wheat yielded 1 cup wheat milk.
For 1 cup wheat milk - 3 cups of brown sugar and 4 cups of water is added. ]
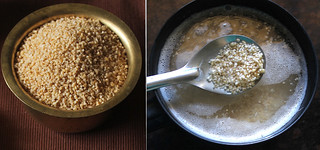
Method:Soak the Cracked Wheat in water for overnight or 10 hours.
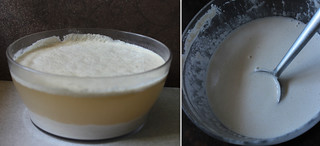
Next day grind the soaked cracked wheat along with water in your mixie jar. Now filter the grinded mix to extract the first pressed milk. then add another cup of water and grind to get the second pressed milk. its just like how we do for coconut milk.
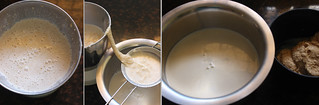
Once the wheat milk is extracted, mix the first pressed and second pressed and set aside. do not disturb it for 2 hours.
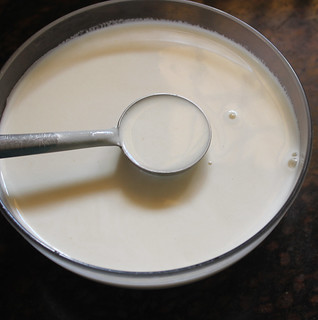
After 2 hours, the milk would have developed scum and the water would have seperated and will be above the milk layer. discard the water carefully and measure the milk alone. For me it exactly measured 1 cup / 250 ml. Wheat milk was like dosa batter.
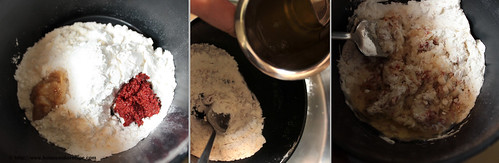
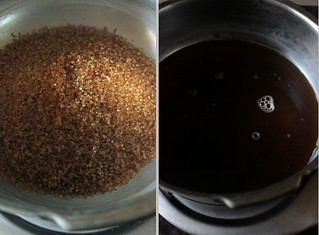
In a Pressure cooker pan, add 3 cups of brown sugar and cups of water. just dilute the sugar and switch on the flame.
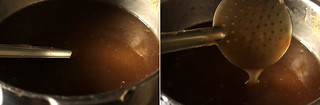
Make sure the flame is low and start adding the wheat milk on one hand and keep stirring with the other hand, so that no lumps are formed. actually i left to form lumps, as i was clicking pics. then i managed to filter the whole mix and started off again.
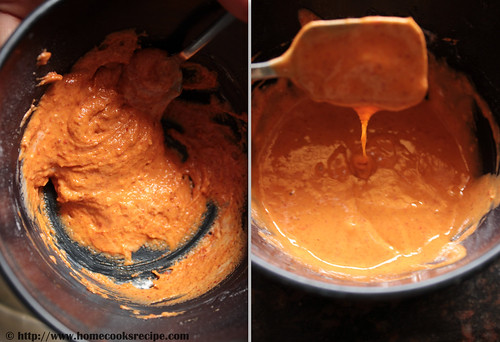
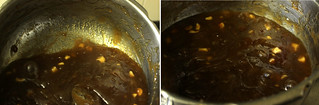
Soon after adding the wheat milk, it got thicken, and the stirring process started. You need to stir for every 30 seconds to avoid the halwa sticking to the bottom.
In the mean time, chop the cashews into small pieces, fry in ghee and add it to the halwa.
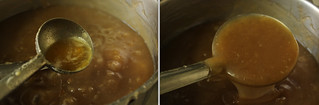
Keep on stirring and add ghee 1 tbsp at a time. almost 45 mins later, halwa drank all the ghee and got ready, as it started to ooze out the ghee. it also stops sticking to the bottom.
check this video to get an idea, on how the halwa will look at the end.
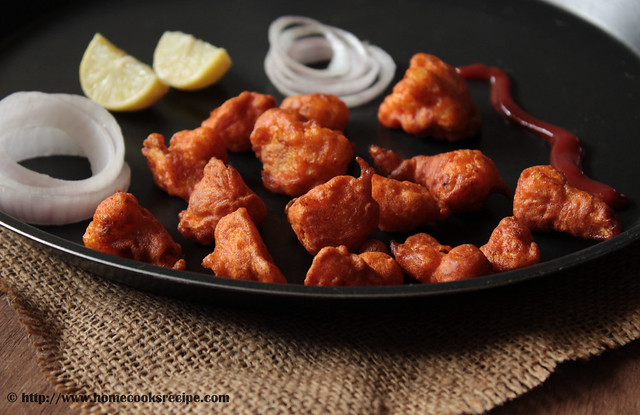
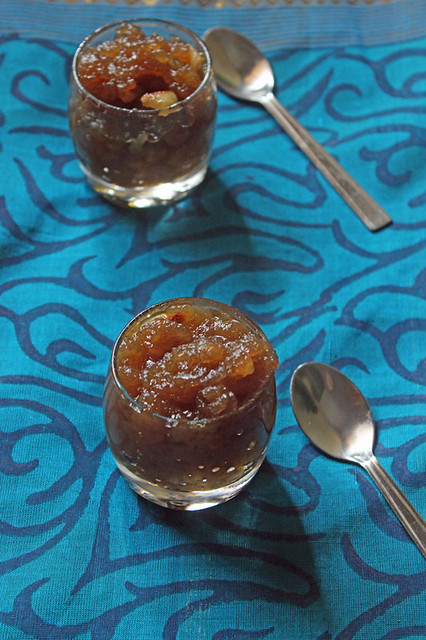
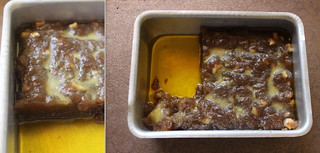
Once the halwa is ready, serve it warm to your family and then you can grease a tray with the ghee that ooze out from halwa and transfer the halwa to the greased tray. i left the tray overnight and i was able to cut the halwa into slices.
Re-heat the halwa, every time you serve, as the ghee tend to solidify and change the halwa texture and taste,
Notes:You can use normal sugar, i preferred brown sugar to get the exact tirunelveli halwa color.
Be generous with the amount of ghee you add, finally it oozes out the ghee, so if you prefer, you can remove the ghee and consume.
This halwa keeps well for 2 days at room temperature. you can store this halwa in fridge and it stays good for 2 weeks.
Always Re-heat or microwave the halwa for 30 - 45 seconds before serving.
Use only Samba Wheat Rava to make this halwa.