Cooking regional cuisines with their own special chilly is like bringing the same flavor and heat required for the dish. If you happen to find Kashmiri chilly, Goan chilly, Guntur chilly, Bedgi chilly, do try the regional special recipes. This Vegetable Kolhapuri needs kolhapuri lavangi mirchi to get the right spice and color for the dish.
This is a easy to prepare side-dish that goes well with roti, naan and pulao. It may look like a spicy dish with the color, but its a mild flavored curry with cashew paste, which thickens the curry.
Kolhapuri Masala Recipe
Ingredients:
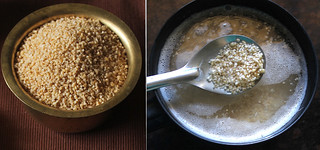
Dry Red Kashmiri Chilly - 4
Dry Red Chilly - 4
Corriander seeds - 2 tsp
Pepper - 1 tsp
Fenugreek seeds - 1/4 tsp
Nutmeg - a small pinch
Cloves - 4
Cinnamon stick - 1'inch size
Dry Coconut - 2 tsp's
Cardamom - 4
Method:
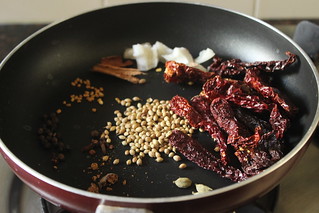
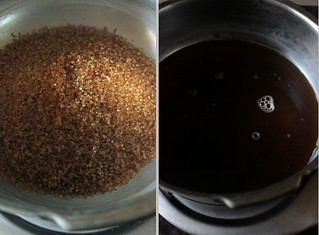
Dry roast the above ingredients in slow flame for about 5 minutes, till its lightly roasted and gives out a nice aroma.
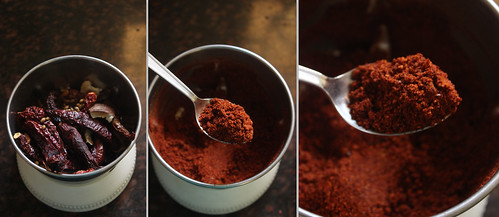
Cool the roasted spices and grind into a fine powder. You can store in a air tight container and refrigerate it for further use.
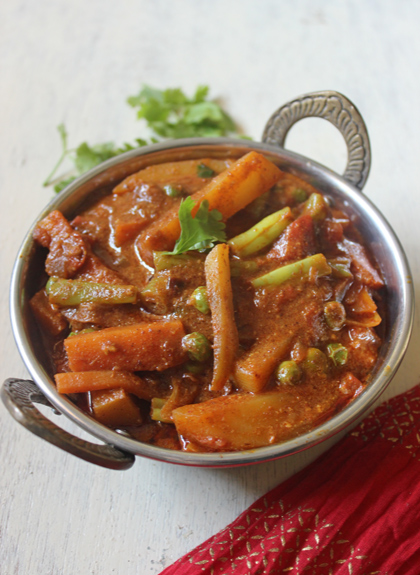
Vegetable Kolhapuri Recipe
Ingredients:
Onions - 2
Ginger garlic paste - 2 tsp's
Bay leaf - 1
Oil - 2 tbsp's
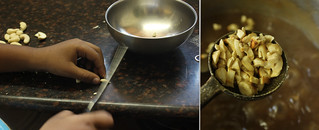
Cashews - 10 / 15
Tomato - 1
Turmeric powder - a pinch
Kolhapuri Masala - 2 tsp's
Chilly Powder - 1 tsp (optional)
Vegetables:
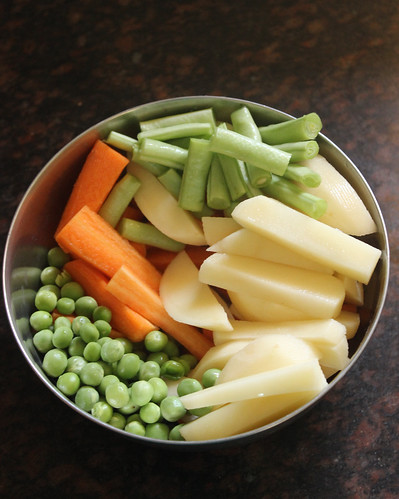
Carrot - 2
Potato - 2
Beans - 6
Green peas - 1/4 cup
Method:
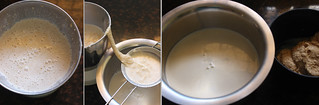
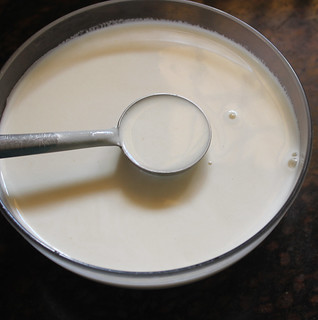
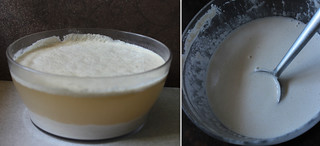
Grind the cashews with warm water into a fine and smooth paste. set this aside.
Peel the skin of the carrot and potato, dice them lengthwise. chop the beans. Steam the vegetables for including green peas for about 12 minutes.
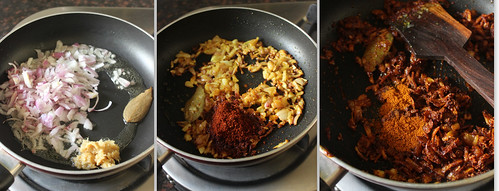
Heat oil in a pan, add bay leaf and finely chopped onions and ginger garlic paste. roast the onions in slow flame, till they turn light golden color. Now add turmeric powder and salt to the onions. Then add in the kolhapuri masala powder and chilly powder(optional). saute along with the onions.
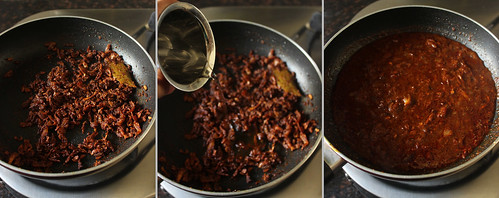
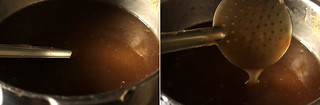
Now add 1 cup of water and let the curry come to a boil.

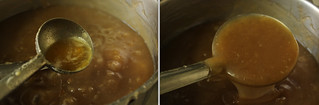
Add the cashew paste to the curry and let it come to boil. now add finely chopped tomatoes and mix with the curry.
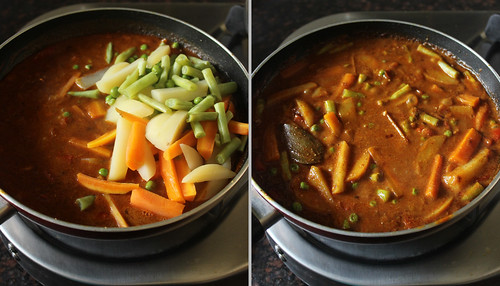
Finally add in the steamed vegetables to the curry and mix slowly. Remove the curry from flame.
Garnish the curry with corriander leaves.
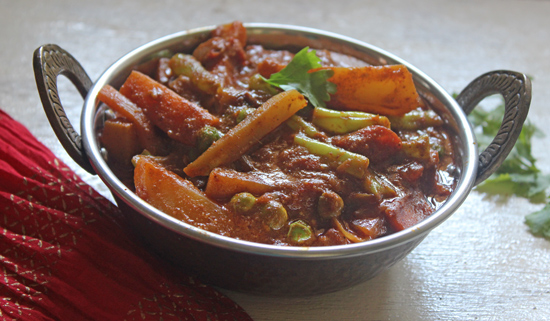
Serve with pulao varieties, Roti, Naan or pulka.
Notes:
If you cannot find kashmiri chilli, use normal dry red chilly available with you and add kashmiri chilly powder in the curry.
This is a semi gravy so add water accordingly.